When we all look back on this year someday, I'm pretty sure the historians will officially dub this The Year That Summer Never Came.
Not that I'm complaining that much. Usually, summer in Toronto summer means several weeks of the oppressively muggy, smoggy kind of heat that wilts everything in sight, me included. So this cool, grey weather is actually pretty pleasant, all things considered.
The only downside to this cooler weather is that my beloved local produce is taking its sweet time in making its annual appearance.
Strawberries arrived nearly two weeks later than usual, and the elusive wild blueberries have only just started appearing at the market. And in my backyard, the tomatoes I planted remain stubbornly green despite the abundance of love, water and fertilizer that I shower upon them regularly.
The Joy of Yellow Plums
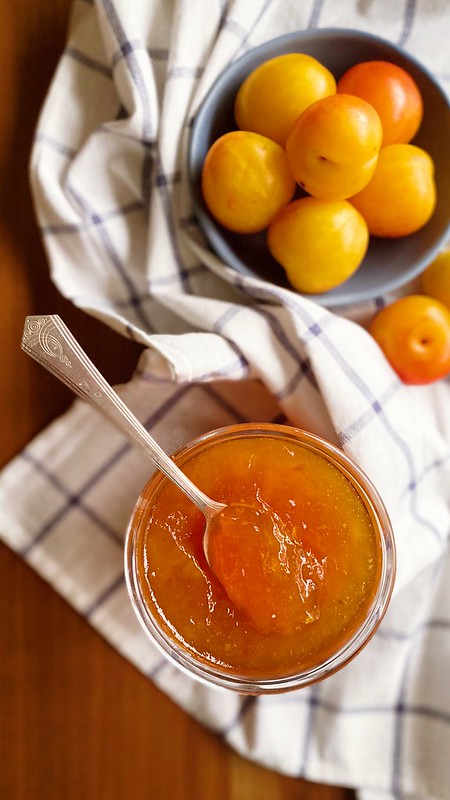
That's why I did a little jig of joy when I popped into the farmers' market last week and was greeted by baskets of freshly picked yellow plums.
We all know about my obsession with plum season before, right? I know I get stupidly excited by food in general, but plums tend to inspire a particular kind of glee in me (so does rhubarb, but that is soooooo last month at the moment).
Of course, there's another benefit to our cool summer... since heating up the kitchen isn't a huge concern, I had no qualms whatsoever about standing over the stove for the half-hour it took to transform my golden bounty into a rich amber jam.
It's nice to know that even once plum season comes to an end, I'll still be dancing that little jig of joy every time I open the fridge and am greeted by a jar of homemade plum jam.
Variations on This Recipe
While this recipe is pretty much perfect as it is, there are a few ways to shake it up:
- Rosy Plum Jam: This is as easy as it gets - simply swap out the yellow plums for an equal quantity of red plums for a brilliant red jam.
- Vanilla Plum Jam: Omit the spices, and replace them with a whole vanilla bean that's been split open lengthwise.
- Brandied Plum Jam: Stir 2 tbsp brandy into the finished jam before ladling it into jars.
How to Check Your Jam is Set
It's happened to all of us at some point. You cook up a big pot of jam and ladle it into jars, only to discover it stubbornly refuses to set. At that point, I usually just pretend it was totally intentional and call it "sauce", but let's be honest, it's still just failed jam,
There are two methods you can use to make sure your jam sets up perfectly.
The Saucer Test: This is the method I included in the recipe below, mostly because it's as low tech as it gets. Just drop a small amount of jam onto a chilled saucer, which quickly cools down the jam and allows you to test for set. You'll know the jam is ready because it holds its shape, and wrinkles slightly when pushed with a finger.
The Temperature Test: This is the more reliable method, though it does require you to have a candy thermometer to ensure your jam reaches the magical temperature of 220F, also known as the gel point. In other words, that the temperature where enough water has evaporated from the mixture to allow the pectin to do its thing, creating a glossy, spreadable jam.
Seriously, Just Get a Candy Thermometer
Even if you only make jam once a year, it's still well worth investing in a thermometer, mostly because it's dirt cheap!
You should be able to score an old-fashioned glass thermometer that clips onto the side of the pan for around $10-$15. (And as a bonus, you can also use it for deep-frying, which means you have an excuse to make donuts. And who doesn't love an excuse to make donuts?)
The other good news is that yellow plums are rich in pectin and have a natural acidity that helps to boost the set, which means this jam is pretty much foolproof no matter which method you choose.
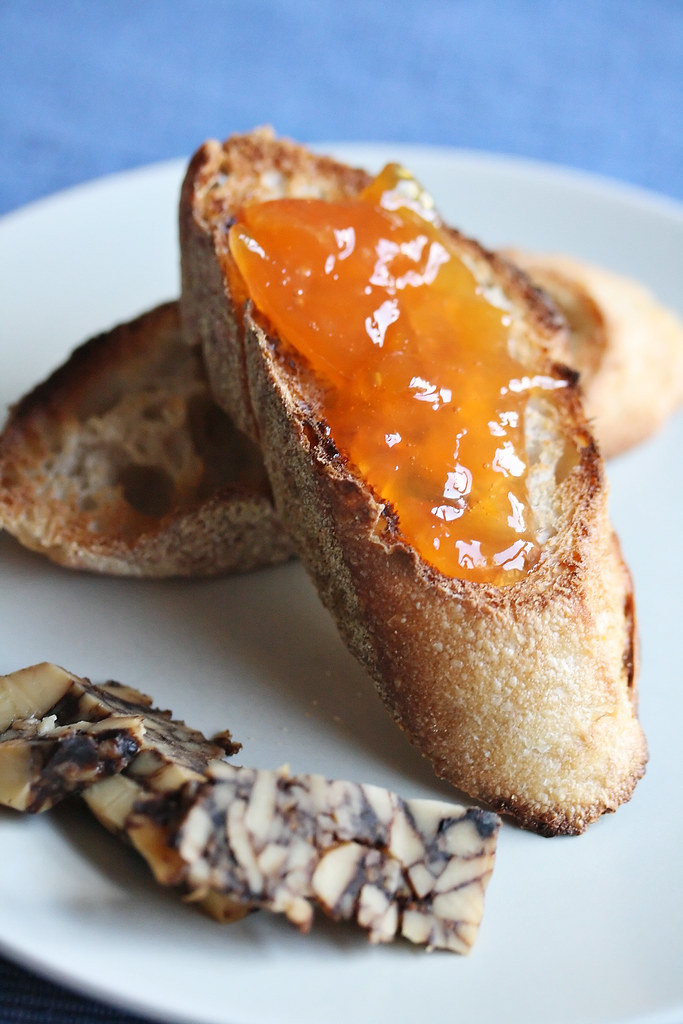
Your efforts will be well rewarded with a gorgeously golden jam that's full of sweet-and-tangy plum flavour and subtle notes of warm spice. It's the perfect match for a wedge of crumbly cheddar cheese and a crusty baguette, or for spooning onto a toasted English muffin.
//
Print
Golden Spiced Plum Jam
- Total Time: 45 mins
- Yield: 4 1x
Description
This gorgeously golden jam makes the most of the little yellow plums that show up at the farmers' market in the early summer.
Ingredients
- 1 pound ripe yellow plums
- 2 ¼ cups sugar (approximate)
- 1 cinnamon stick
- 4 cloves
- 6 green cardamom pods, lightly crushed
- Juice of 1 lemon
- ½ cup water
Instructions
- Put a ceramic saucer in the freezer. Pit the plums and cut into quarters.
- Measure out the fruit. For each cup of fruit, you'll need ¾ cup sugar (I ended up with 3 cups of chopped plums, so I used 2 ¼ cups of sugar for my batch of jam... but YMMV).
- In a large heavy pot with high sides, layer the plums and sugar. Add spices, lemon juice and water. Bring to a simmer over low heat, stirring frequently, until the sugar has been completely dissolved. Continue simmering for about 10 minutes, or until plums are softened.
- Turn the heat to high and bring to a hard boil. Boil for about seven or eight minutes. After eight minutes, pull the saucer from the freezer and test for gelling using the saucer test - if the jam is not quite ready, continue boiling and test again after a minute or two, continuing until the desired consistency is achieved.
- Once the jam passes the test, take it off the heat and fish out all of the spices (nothing ruins a good jam like biting down on a whole clove, after all). Ladle the hot jam into sterilized jars. You can store the jam in the refrigerator for up to a month or, if longer storage is desired, you can also process the jars for 15 minutes in a boiling water bath and store for up to a year in a cool, dry place.
- Prep Time: 15 mins
- Cook Time: 30 mins


Dani says
The recipe itself is great, but I wanted to warn that it can take much longer than anticipated. We reduced sugar by 1/4 cup per cup of fruit and we’re processing 14 cups of fruit and it took 3 hours start to finish. With a do-over I might split the fruit and do two different recipes in two different pots to both cut cook time and offer a varied product.
★★★★
Isabelle Boucher says
Thanks for the feedback, Dani. In this case, the changes you made are part of the reason your jam took longer to cook.
The first is the size of your batch. A bigger batch of jam will take longer to cook, because you need to boil off most of the water to allow the pectin to work its magic. This is why jam will cook faster if you use a wider pan, because it creates more surface area, which means more evaporation.
The second is the decreased the amount of sugar, because you need to reach the right level of sugar concentration to take the jam above the boiling point and reach the magical temperature of 220F where pectin activates, so starting with less sugar means you need to cook off more water to reach the gelling point.
Using two pots will definitely help out next time, but so long as you are using less sugar, it will still take a little longer to set up.
Anonymous says
Put the spices in a large tea strainer (you have to break up the cinnamon sticks, though). Much easier to retrieve them!
jennyhead says
welcome back! brent bought me some yellow plums from the market last saturday and they were delish. they kind of taste like cinnamon or chai, yet still weirdly plumish. let me know next saturday you're at st. lawrence market, we'd love to have you over for brekkie/lunch! xo